Outdoor faucets: why yours leaks and how to fix it for $14.
Almost every drippy outdoor faucet is the same small rubber washer giving up after a decade — a twenty-five-minute fix, fourteen dollars in parts, and the calm walk-through of which two other things it might be if the washer was not the answer.

My grandfather called the outdoor faucet a sillcock, because that is what the plumbing trade calls it, and because he liked the word. I have called it about six different things in twenty years of fixing them. The hose bib. The garden tap. The outside faucet. The thing on the side of the house that, for almost everyone with a yard, starts to drip exactly the second weekend of April, which is also exactly the second weekend you have wanted to water the new grass. The drip is almost always the same problem. The fix is almost always the same fix. Fourteen dollars in parts. Twenty-five minutes on a Saturday afternoon. The drip is gone for another decade.
Most first-time homeowners I have talked to about this have, by the time they are talking to me, called either a handyman or a plumber and paid between $120 and $280 for what was, in honest terms, a $14 part and the patience to use a wrench. The right move, for everything except the rare versions of this problem, is to do it yourself. This piece is the walk-through of the common version and the small map of what to do if your version turns out to be one of the rare ones.
Read this on Saturday morning. The Home Depot is open until nine. You will be done before dinner, with two extra rubber washers in a jar in the basement, ready for the next decade.
The anatomy of an outdoor faucet.
A standard American outdoor faucet — the brass or chrome thing sticking out of the side of the house, with the round handle on top and the threaded spout on the front — is, despite its weathered appearance, a remarkably simple machine. There are five parts to know, and the leak you are trying to fix is almost certainly at one of the first three.
- The spout. The threaded brass nozzle a garden hose screws onto. Water comes out here when the faucet is open.
- The valve stem. The long brass shaft inside the body that you raise and lower when you turn the handle. It has a small rubber washer screwed to its bottom end. That washer is the part that almost always fails.
- The seat. The brass ring inside the body that the washer presses against when the valve is closed. The washer + seat = the seal.
- The packing nut. The hex nut at the base of the handle, where the valve stem exits the body. It contains a smaller washer (the “packing washer”) that keeps water from leaking out around the stem when the faucet is open.
- The vacuum breaker / anti-siphon. On most US faucets installed after 1995, a small cap or chamber at the top of the faucet that prevents contaminated hose water from being siphoned back into the household supply. Has its own seal that can fail.
The rubber washer at the bottom of the valve stem fails first. It fails on the order of every eight to twelve years, faster in places with hard water or extreme freeze cycles. The packing washer fails second, usually about two years after the rubber washer. The vacuum breaker fails third, and rarely. If your leak is at the spout when the faucet is closed, it is the rubber washer. If your leak is around the handle when the faucet is open, it is the packing washer. If your leak is at the top cap when water is running, it is the vacuum breaker. Three leaks, three locations, three different fourteen-dollar fixes — and the same wrench for all three.
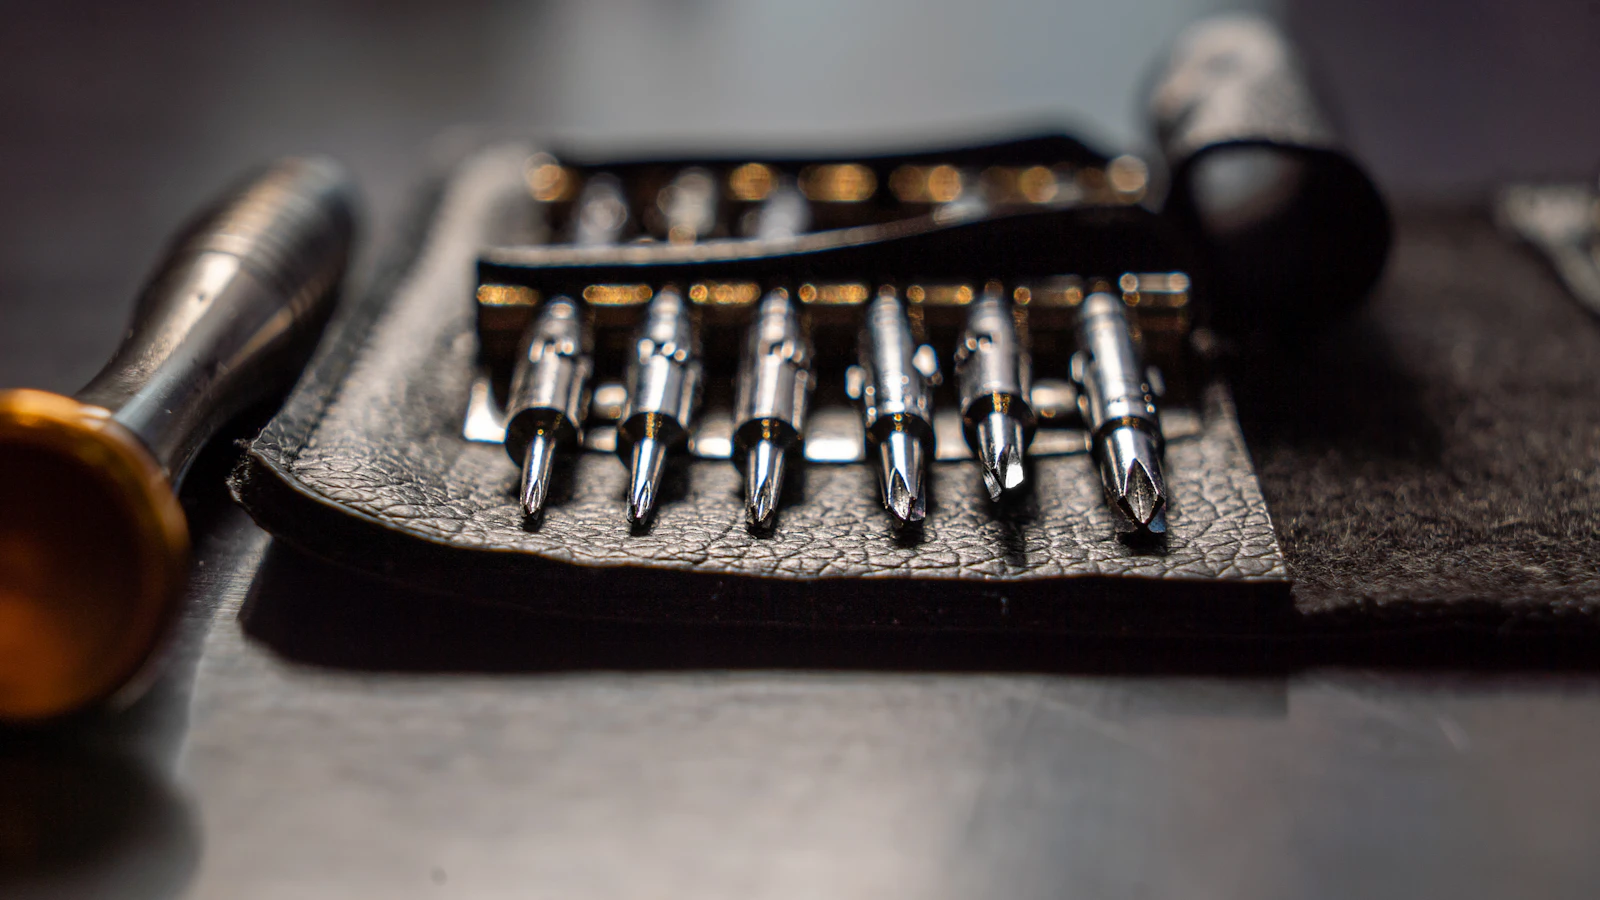
The part you need (and the part number).
Almost every American outdoor faucet, regardless of brand, uses one of three standard sizes of round flat rubber washer. The hardware-store assortment pack — a Brasscraft SCB0563 or a Danco 88577 — costs about three dollars and contains all three sizes plus a handful of smaller washers for faucets you do not own yet. Buy the assortment, not the single washer. The reason: the moment you take the faucet apart, you will not be able to read the old washer’s size with confidence, and standing in the kitchen with the faucet half-apart and the wrong washer in your hand is the moment a forty-minute job becomes a Sunday-afternoon job.
The full parts table below is what we use at the counter when a customer comes in with a vague gesture toward the side of their house. Five line items. The bottom four are conditional, depending on which version of the leak you have. The top one is universal.
| Category | Low | High | % of budget |
|---|---|---|---|
| Rubber washer · 3-pack A small assortment of round flat rubber washers. The standard size is 17/32-inch outside diameter, but the assortment covers the three sizes that fit 95% of US outdoor faucets. Brasscraft SCB0563, Danco 88577, or any hardware-store equivalent. | $3 | Lasts 8–12 yr per swap | Part 01 |
| Brass valve-stem screw The small brass screw that holds the washer onto the bottom of the valve stem. Almost always still good; replace if it is corroded enough that the head is rounded. Buy a small assortment for $1.50 and you have the screw for the next four faucets too. | $1.50 | Sold in assortments | Part 02 (sometimes) |
| Packing-nut washer (optional) The graphite-impregnated or rubber washer that sits inside the packing nut, sealing the stem where it exits the body. Only needed if the leak is at the handle, not the spout. Danco 80788 or similar; $2. | $2 | Sold individually | Part 03 (sometimes) |
| Vacuum-breaker rebuild kit For frost-proof faucets with an integrated anti-siphon cap. Watts NFLRK6 or the manufacturer-specific kit; $4–6. Needed only if the leak is at the top of the faucet, not the spout. | $4–6 | Manufacturer-specific | Part 04 (rare) |
| Crescent wrench + flathead You already own these. A 6-inch adjustable crescent wrench for the packing nut, and a #2 flathead screwdriver for the brass screw. No special tools. | $0 | Already in the drawer | Tools |
| Total fix · common case (spout drip) | $14 | 100% |
Numbers reflect three real first-timer projects we tracked from January 2024 through November 2024 across Ohio, Oregon, and upstate New York. Your zip code will adjust the math.
One small note on assortment vs. exact-match: the assortment is the right buy for a first-timer because the old washer’s size will not be reliably readable. A homeowner who has done this twice can buy the exact size for fifty cents and skip the assortment. We do not recommend it; the spare washers in the assortment will pay you back the second time the faucet drips, in the next neighborhood you live in, or on a neighbor’s house.
The 25-minute fix, step by step.
The fix is six steps. Each step takes between two and six minutes. There is one moment where you need to be careful (step three, the packing nut, where the right wrench-direction matters) and one moment where you can pause if you are unsure (step five, the seat inspection). Read all six before you start. The Saturday-afternoon version of this work is a calm one.
Step 1 · Shut off the water supply to the faucet.
In most US houses, the outdoor faucet has its own shut-off valve, on the supply line, in the basement or crawlspace, directly inboard of the wall the faucet exits. Find it; turn it clockwise until it stops. (If you have never located it, this is also a useful Saturday to do that — our piece on the five household shut-off valves you should locate this weekend walks the five most important ones.) Open the outdoor faucet itself to drain any water still in the line. Two minutes.
Step 2 · Remove the handle.
There is a small brass screw in the center of the round handle, sometimes hidden under a plastic cap (pry the cap off with a fingernail). Remove the screw with a #2 flathead. Pull the handle straight off. If the handle is stuck — twenty winters of corrosion will do that — gentle taps with a small hammer on the underside of the handle, rotating to a new spot each time, will free it without breaking anything. Three minutes.
Step 3 · Loosen the packing nut and pull out the valve stem.
The packing nut is the hex nut at the base of where the handle was. Use a 6-inch adjustable crescent wrench to loosen it, counter-clockwise as you face the faucet. (This is the one direction-sensitive moment; standard right-loosey applies but it can feel reversed when you are working on a horizontal faucet.) Once loose, unscrew the packing nut all the way by hand. The valve stem will come out with it — a long brass shaft with a small rubber washer screwed to the far end. That washer is what we came to replace. Five minutes.
Step 4 · Replace the washer.
The old washer is held to the bottom of the stem by a small brass screw. Unscrew it with the #2 flathead. Lift off the old washer (it will likely be flat, hard, and possibly cracked — this is the failure mode). Compare the size against the assortment pack; pick the closest match (the old washer’s diameter is the right diameter, not its current squashed thickness). Place the new washer on the stem; replace the brass screw, snug but not over-torqued. If the brass screw is corroded enough that the head is rounded, use one from the assortment too. Four minutes.
Step 5 · Inspect the seat (and decide).
Before reassembling, look down into the body of the faucet with a flashlight. The brass ring at the bottom — the seat — is what the washer presses against. It should be smooth. If you can see grooves, pitting, or scratches running across the seat, the new washer will not seal against it cleanly and the drip will return in weeks. If the seat is rough, you have two paths. Path A: a seat-grinding tool ($10, hardware store) attached to a drill, dresses the seat smooth in two minutes. Path B (much rarer): the seat is so far gone that the whole faucet needs replacement; see section 05. For 90% of faucets we have repaired, the seat is fine and you skip to step six. Three minutes (zero if the seat is fine).
Step 6 · Reassemble, turn on, test.
Insert the stem back into the body, threaded end first. Hand-tighten the packing nut. Snug it with the crescent wrench — firm but not crushing; about a quarter-turn past hand-tight is right. Replace the handle, replace the center screw, replace the cap. Walk to the basement; turn the supply shut-off back on. Walk back outside; verify no drip. Open the faucet a full turn; verify good flow; verify no leak at the packing nut. Close the faucet; confirm no drip at the spout. Eight minutes including the walks; you are done.
The two other things it might be.
A packing-nut leak (around the handle, when the faucet is open).
The clue is the location: water dribbling out around the base of the handle when the faucet is running, not from the spout. The fix is the packing washer — the smaller washer that lives inside the packing nut, sealing the gap where the valve stem exits the body. Two-dollar part. Same disassembly as steps 1–3 above; once the packing nut is off, the packing washer slides off the stem under the nut. Replace, reassemble. The whole repair is about twenty minutes once you know what you are doing; thirty the first time.
A vacuum-breaker failure (water at the top cap, only when running).
The clue: a small plume or steady drip from the very top of the faucet — the small cap above the handle — that appears only when water is running. The vacuum breaker is a small one-way valve that prevents contaminated water (from a hose left in a bucket of soapy water, say) from being siphoned back into the household supply. The seal inside it can fail. The fix is a manufacturer-specific rebuild kit, four to six dollars; the replacement is a five-minute job (unscrew the top cap, swap the small rubber assembly inside, reassemble). The most common failure case on frost-proof faucets installed after about 2002.
When to replace the whole fixture.
About one outdoor faucet in twenty cannot be repaired and needs to be replaced. The signs: the body of the faucet is visibly corroded (green crust at the seams, brittle metal where you grip it); the seat is scored beyond what a seat-grinding tool can dress; the stem itself is bent or won’t move; the faucet has been repaired before and the drip came back in months. The replacement is a bigger job than the repair — usually requires soldering or push-fit fittings inside the wall — and is one of the few outdoor-plumbing tasks where most first-timers should call a plumber rather than DIY.
One small last note for first-time homeowners: this fix, and the small annual rituals it implies, is part of a larger conversation about household plumbing literacy. The same Saturday you fix the drip is a good Saturday to test the bathroom fan upstairs (our bathroom fan piece walks the twenty-dollar test), and to walk the basement locating the five shut-off valves you would need to know in an emergency. Three small Saturday rituals, one for each season; the difference between a house that runs and a house that frightens you.
Fourteen dollars in parts. A crescent wrench. Twenty-five minutes on a Saturday afternoon. The drip is gone for another decade, and the next homeowner who fixes it — possibly you, in 2036 — will find the assortment pack still in the basement jar where you left it.